Backblaze

Last year I decided that the local backup strategy I had in place for my photos wasn’t cutting it. Not to mention leaving for vacation with my computer and external hard drive backups “hidden” didn’t leave me feeling particularly at ease. A break-in or fire could have resulted in my gear—and thus, all my photos—being gone forever.

I decided it was time to give Backblaze a try. For those who don’t already know, Backblaze is remote backup for everything that’s on your computer, including any connected external hard drives for $5/month. The price was never an issue; $60 a year for unlimited remote backup, and crazy fast retrieval of my files is a no-brainer. The problem I was faced with was my initial backup, which clocked in at just under 1 terabyte.

I’m not gonna lie, for me it sort of sucked. In Canada, we’re faced with mostly terrible options when it comes to ISPs that have comically low bandwidth caps, and even worse upload speeds. I initially tried to manage my backup to only allow my monthly allotted bandwidth. It was impossible. What I ended up doing was paying for unlimited bandwidth during the time it took for my initial backup to complete. It gets worse. If I dared use the entirety of my puny upload limit of 3 whole MB, my 35MB/second download speed would grind to a halt. This makes absolutely no sense, but that’s what we get for trying to use the service for which we’re paying, for legitimate reasons. This meant keeping my upload speed to 1MB or maybe 2MB for the majority of my initial upload. That was painful. The initial backup took well over a month, but that was 100% the fault of my awful ISP, and the fairly large amount of data I had to push upstream. I’ve heard many reports of people pushing many times the data I had in well under a week.

Now that my initial back up has completed, Backblaze could not be easier. I don’t even think about it. I leave my max upload speed at around 2MB/second, and take solace in the fact that I have a complete remote backup of all my stuff. I’ve tested the retrieval process a bunch of times, and it works flawlessly. The only minor inconvenience is having to pause my backup on occasion while watching Netflix. That terrible ISP again.

So why am I writing about this? Well, if there’s one thing I know my readers have, it’s photos. Losing all your photos would suck. I also like Backblaze so much that I can recommend them without hesitation. If you’re thinking about getting yourself a remote back up, and you should, consider using a link to my newest affiliate, Backblaze. A full year will probably cost less than your monthly cell phone bill, and I guarantee you will feel better knowing you digital stuff is safe. I know I do.

On Buttons

If the rumours are to be believed, Fuji are doing some interesting differentiating with the button layouts of their cameras. Take the most recent leaked photos of the X100T.1 It appears to have a D-pad that’s very much like the one found on the X-T1, no functions assigned to it via icons. I’ll assume it will be the new and preferable clicky variety. The images of the back of the camera look great to me. Very clean. No more scroll wheel. It will be interesting to know if the toggle has moved to a dial as well.

Now, the just-announced X30 has a D-pad that’s more similar to the X-E2, complete with even more icons delineating their function. Fuji’s consumer-centric cameras tend to all feature this more protruding and icon-laden D-pad whereas cameras like the X-T1, which is decidedly more “professional,” has the customizable and more recessed D-pad.2

It’s interesting to me that the X100 line of cameras is taking on the X-T1 style D-pad and I fully expect the X-Pro1 successor to do the same. This suggests that Fuji slots the X100 into less of a consumer space which coincides with it’s price, and the fact that it’s a fixed focal length. The X30 couldn’t be more targeted at the more casual “consumer” shooter.

If these photos are real, it’s nice to see Fuji bringing consistency to their cameras like this. It makes a lot of sense for them to take no the role as expert with the more consumer-focused cameras and tell the user which buttons do what, but let the more serious shooter make up his or her own mind about how the buttons behave.

  1. I have to say, their poor quality and the fact that the OVF/EVF switch has gone back to how it looked on the X100 (non “S”) makes me question their authenticity a little. EDIT: With the addition of the OVF/EVF hybrid mode, it makes perfect sense for Fuji to go back to the symmetrical viewfinder switch as each direction from middle serves a different purpose.
  2. The X30’s buttons are all fully customizable as well, but Fuji have provided their suggested designation, which is a subtle suggestion that digging into the menus to adjust things is less of a necessity.

The “Best” X-Trans RAW Converter

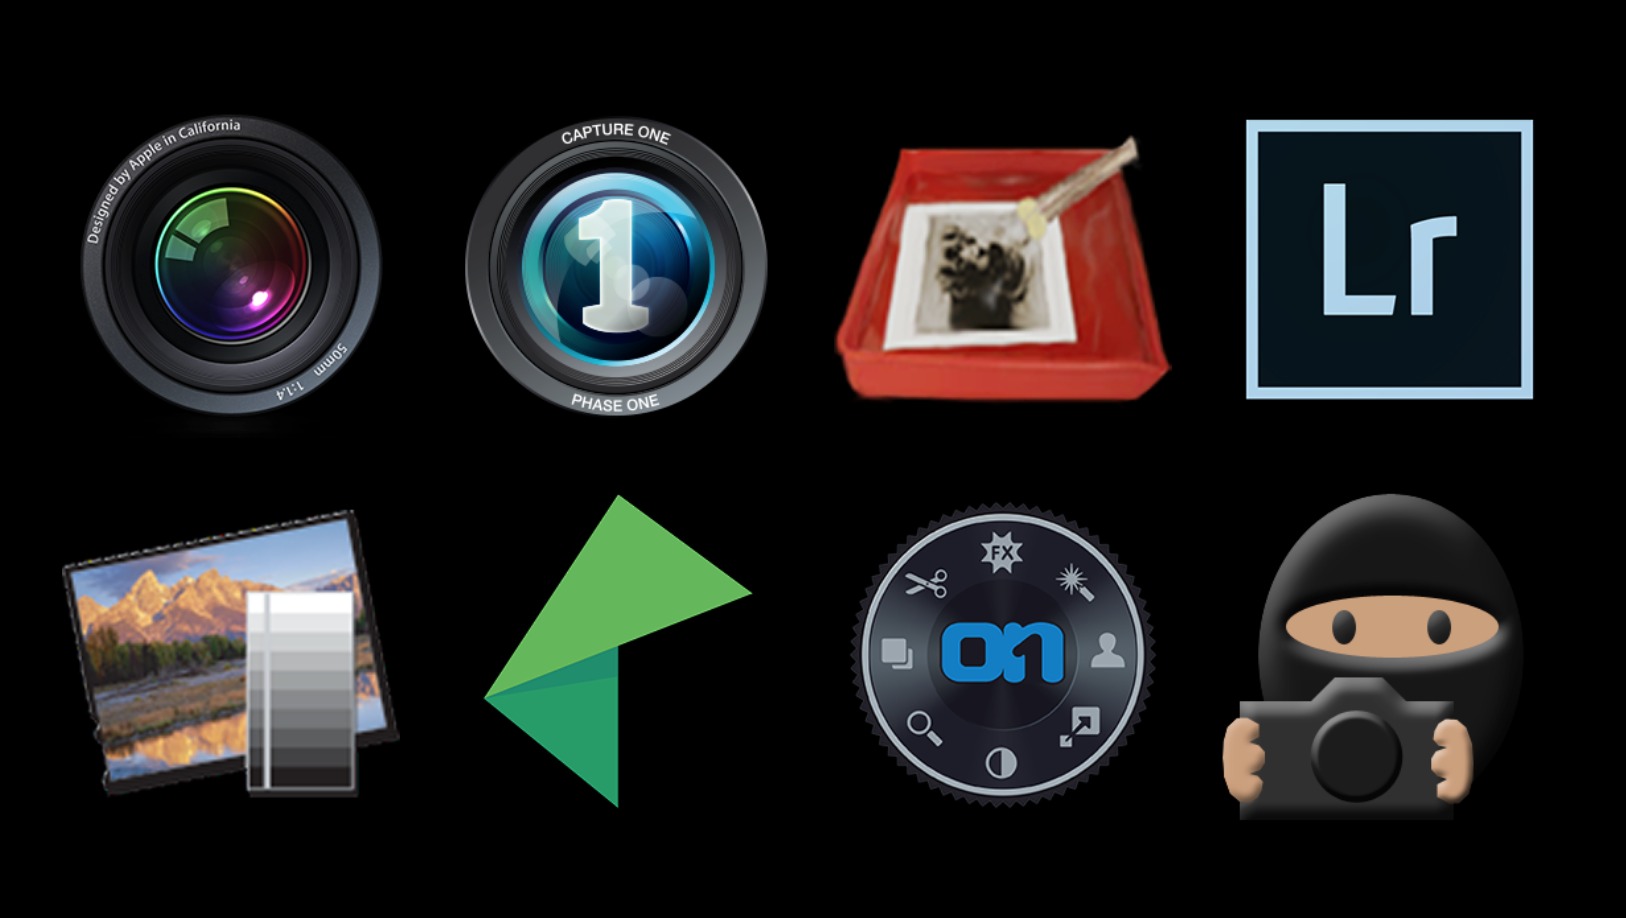
Aperture vs Capture One vs Iridient Developer vs Lightroom vs LightZone vs Nik Sharpener vs OnOne vs Photo Ninja.jpg

Perhaps my most fussy article to date, I’m going to great lengths to determine what the “best” RAW converter is for X-Trans sensors. As it stands, I’ve only examined how these applications treat a typical wide angle image shot with a FUJINON XF 14mm ƒ/2.8 on an X-E1. I will add more images as time permits.

See for yourself what the best RAW converter for X-Trans is.

18mm f/2 vs. 27mm f/2.8

Fuji Fujifilm 18mm f2 vs 27mm f2.8 pancake

Somewhat to my surprise, this is a comparison I’ve not only had requested, it’s also a search term that lands more than a few people on my site. These lenses really only have two things in common, and that’s size and weight. It would seem lots of people are after an X100S form factors, but aren’t sure which of these two lenses will do it best.

Because the focal lengths are so different, I’ve left the pixel-peeping image comparison out. They may be added in the future, but for now, lots of impressions, comparison images, and even a few charts should help with which of these two tiny lenses you should get for a small interchangeable kit.

Read 18mm f/2 vs. 27mm f/2.8 here.

Get a grip

To all my American friends, if you’ve been putting off buying the X-T1, now might be the time to click “Buy!” Us Canadians were fortunate enough to get a free VG-XT1 vertical grip when we preordered the X-T1. B&H are making the missed promo up to you guys by providing the grip and an extra battery for $200 off. Not too bad.

As I noted in my review, the ergonomics of the VG-XT1 are fantastic, and maybe even better than the actual camera for some. I haven’t done as much event shooting as I once did lately, but when I do, you better believe I’ll have the VG-XT1 affixed to my camera.

Get yours here.